
 |
| Lindy Sue photo: Vestige Photography |
If you aren't already aware, I (Spike) have a home tiki bar called The Breezeway.
Bamboo Ben, Dinah DeRosa, a bunch of friends and I built it about 5 years ago. Since then, I've had all kinds of
pin-up photoshoots and cocktail parties in there. It's been a really fun place to hang out. And well, if you're gonna have a band called The Hula Girls, you should probably have a tiki bar in your home, right??
 |
| Neva Moore photo: Vestige Photography |
I think home tiki bars are an ever evolving thing... You're never really 'finished' building them. You just keep adding to them.
 |
| Renee O photo: Vestige Photography |
I carved all of the big tikis and all of the trim in the bar. Made a lot of the lamps as well (including those two blue ones in the foreground). Eventually, I'll do a post on my tiki hot tub as well... It's really something to see!
My latest addition to the bar is actually just outside of it, in the backyard. I decided that it was time to put in a lagoon, complete with a volcano fountain (I know we're in a drought... but I'm not building a dolphin enclosure or anything, just a small shallow-ish pond).


So much digging. We actually had to use a pic axe to loosen up the ground once we got passed the grass level.


Once the hole was finished, I mocked up the volcano in order to get an idea of the height and width.


I didn't want the volcano to rest on the bottom of the pond. I wanted it to be raised up so that if I ever get fish in there, they'll have a sanctuary in which to retreat. I've heard stories of predators nabbing fish from ponds. I had another big pond liner that I cut up, folded, and placed under the cinder blocks to keep the blocks from cutting through.

Here is the chicken wire going up. I also dug a two foot deep hole for the pond filter. There is a high power intake pump at the other end of the pond.

Here's the volcano, all cemented up. After that, I shop vac-ed the whole pond to get up the concrete scraps and dust.


I still need to hide some electrical lines that go out to the top of the volcano. They power a tinted light and a water ionizer that creates a smokey water vapor effect!


 |
| Ashlyn Coco photo: Painted Pinups |
 |
| Spike photo: Glen McDowell |
My latest addition to the bar is actually just outside of it, in the backyard. I decided that it was time to put in a lagoon, complete with a volcano fountain (I know we're in a drought... but I'm not building a dolphin enclosure or anything, just a small shallow-ish pond).


Somehow I got my buddy, and genius photographer, Tom Stratton, involved in what would become a strenuous and backbreaking project. I'm sure that about a third of the way into it, he was wondering why he was helping... Haha...

Some of the supplies. We actually went through about 7 or 8 of those blue cement bags by the end of the whole build...


So much digging. We actually had to use a pic axe to loosen up the ground once we got passed the grass level.


I really couldn't believe how much dirt there was. I mean, it makes sense... We dug a giant hole. but I had no idea that it would be THIS much! I had to spread a lot of the dirt around my flower beds and planters to get rid of it.


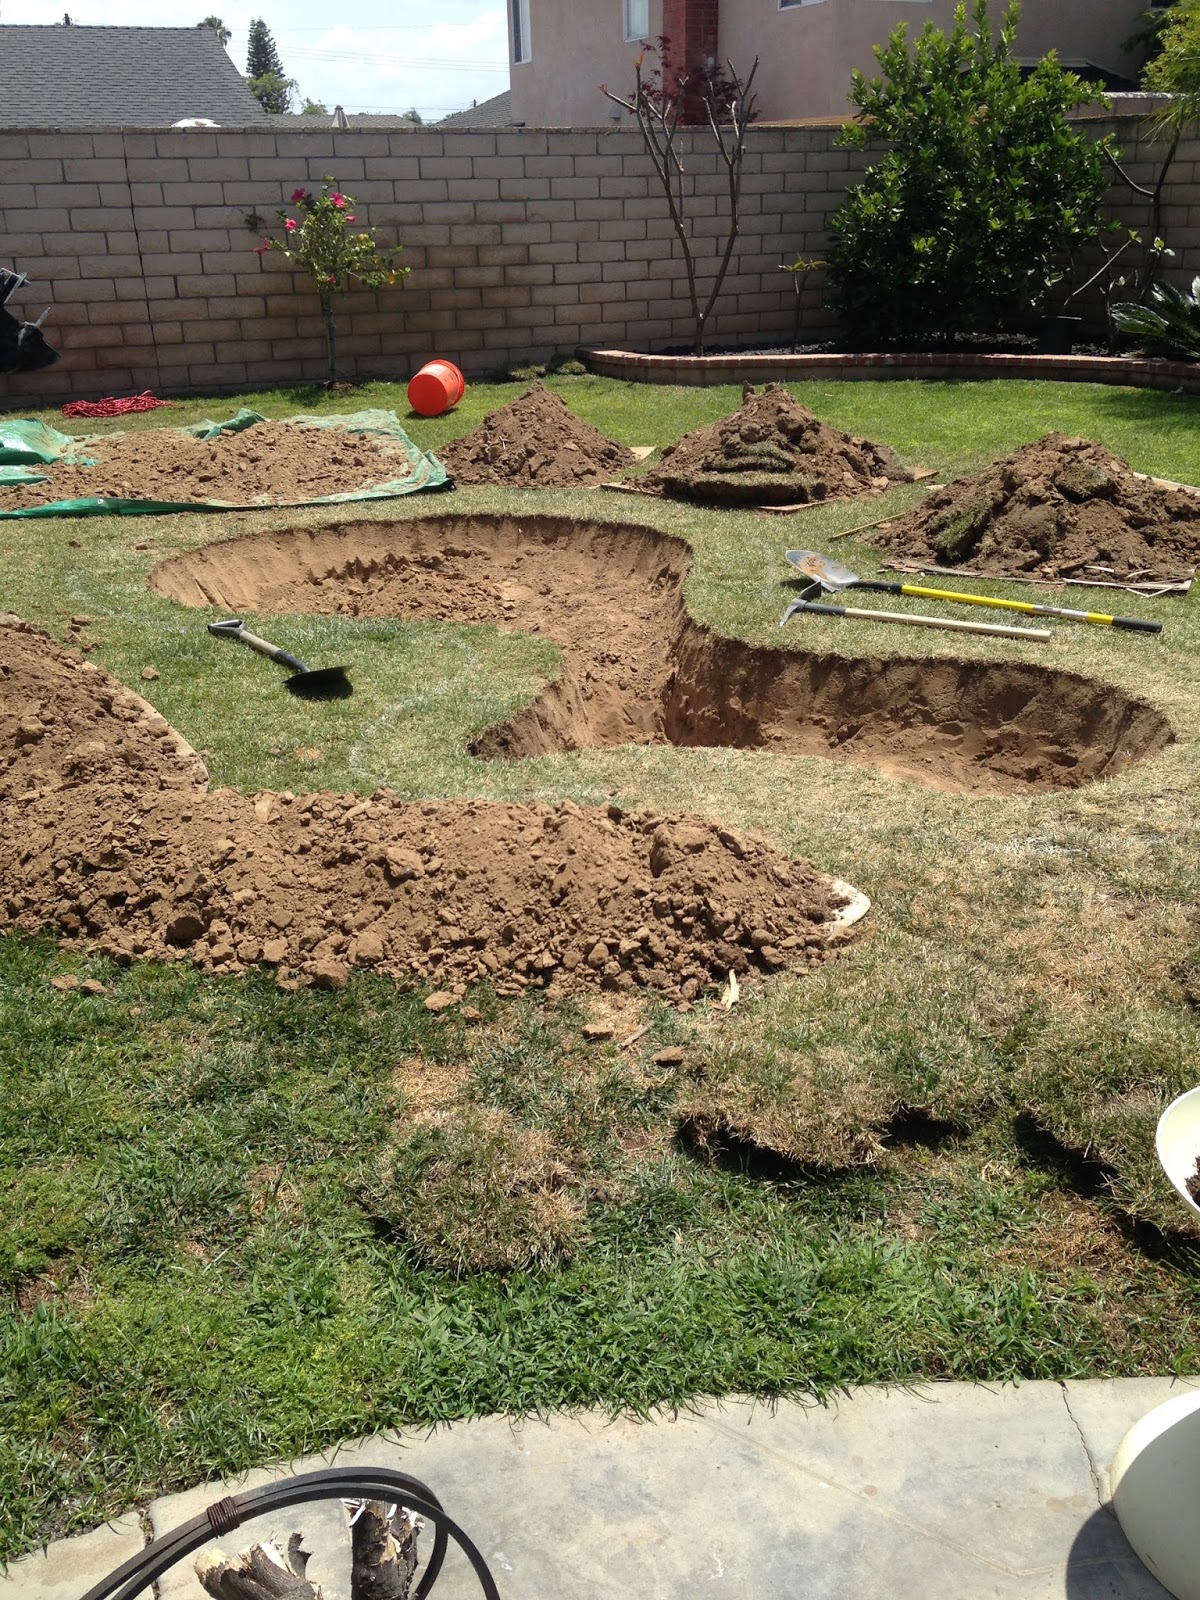
I can't tell you how downright exhausting these days were. It felt like chain-gang work... Breaking rocks in the hot sun...

Once the hole was finished, I mocked up the volcano in order to get an idea of the height and width.


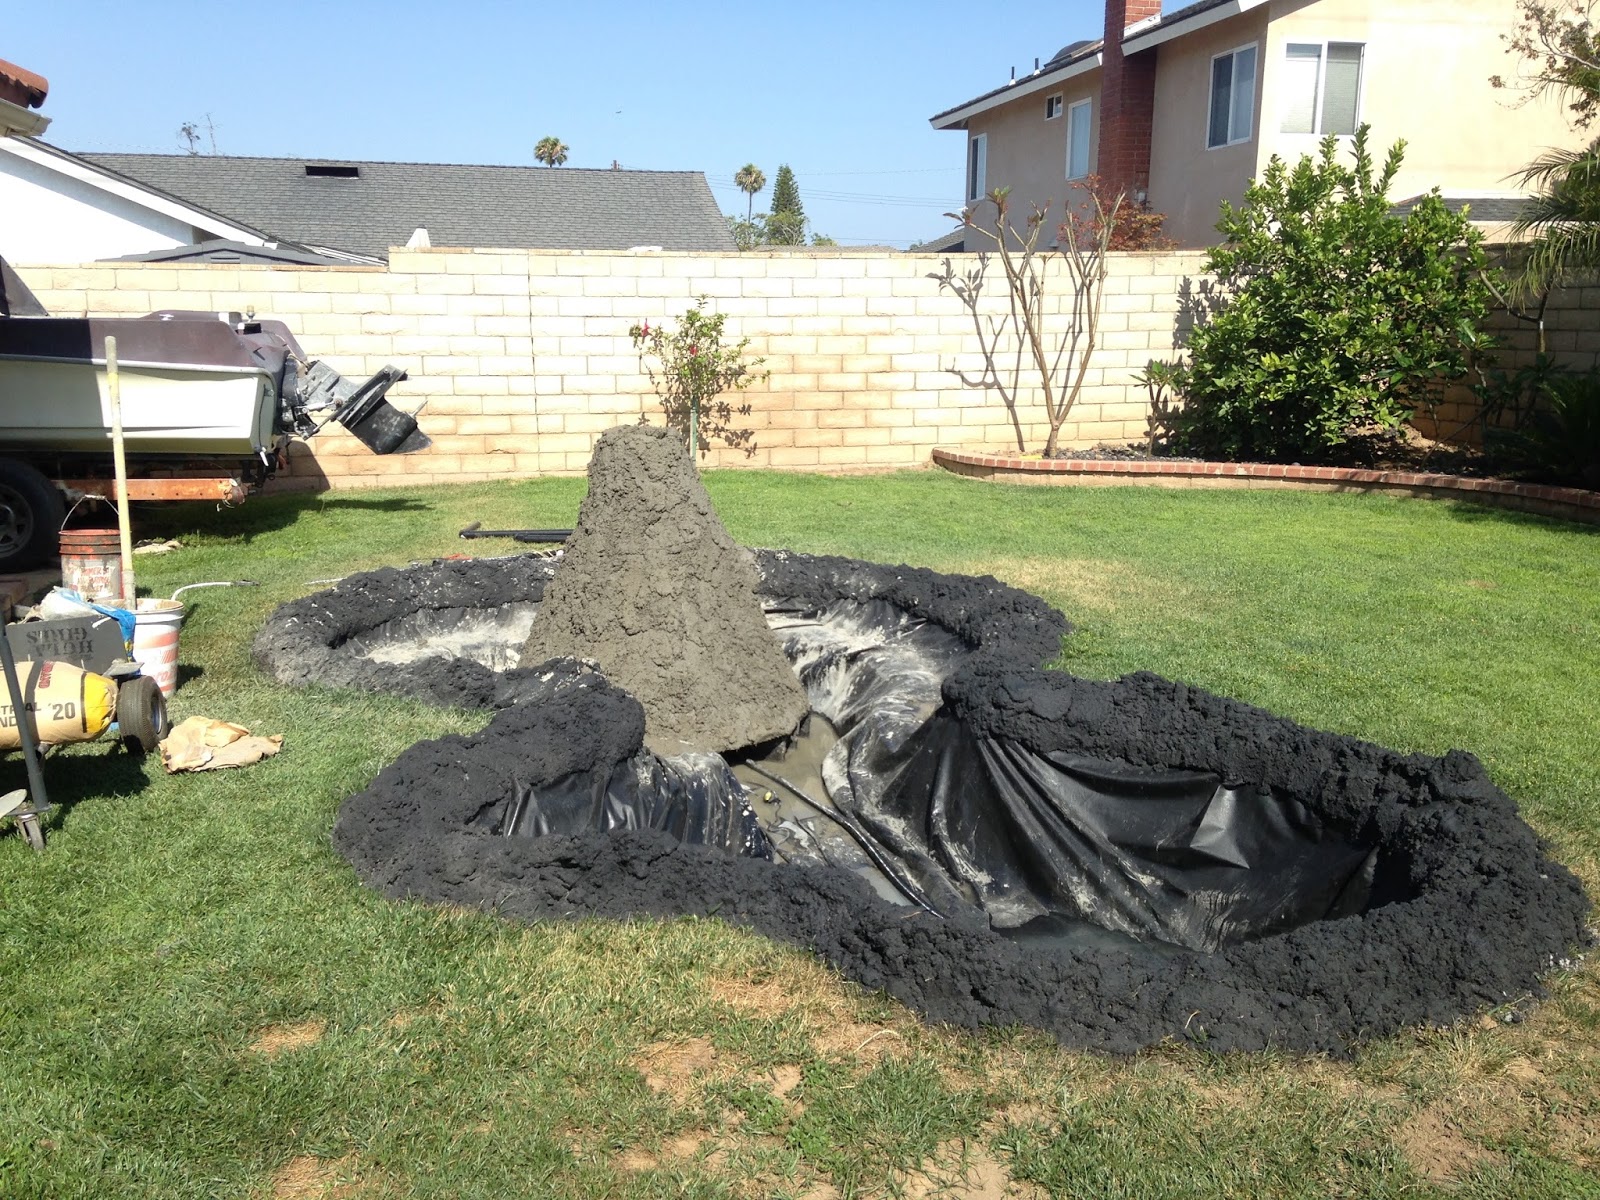
Next step was to lay in the ground padding (to protect the pond liner from rocks and roots and stuff that can potentially puncture it).

Liner is in!

We did find a use for some of the dirt from the hole... Once it's covered in cement, it's going to serve as the 'volcanic' rim of the lagoon.


I didn't want the volcano to rest on the bottom of the pond. I wanted it to be raised up so that if I ever get fish in there, they'll have a sanctuary in which to retreat. I've heard stories of predators nabbing fish from ponds. I had another big pond liner that I cut up, folded, and placed under the cinder blocks to keep the blocks from cutting through.
On top of those cinder blocks will be a wooden ring that I cut out of 1/2" plywood. That serves as the base for the volcano.

In keeping with the tropical theme, I used some bamboo poles that I had laying around for the volcano structure. I also had this orange plant pot that will serve as the fountain basin. I plumbed it with PVC, some hose, and a fountain head.


Here is the chicken wire going up. I also dug a two foot deep hole for the pond filter. There is a high power intake pump at the other end of the pond.
Here's the volcano, all cemented up. After that, I shop vac-ed the whole pond to get up the concrete scraps and dust.

Once it was all painted, I filled it and plugged everything in!
There were actually a lot more headaches with every step of this project than I letting on to... Even just getting that fountain to spray high enough took several hours to get right.

I still need to hide some electrical lines that go out to the top of the volcano. They power a tinted light and a water ionizer that creates a smokey water vapor effect!

I still plan on planting the pond with aquatic plants to make everything look more organic. But all in all, I'm sure happy with the results! Thanks to Tom for all of the hard labor along the way.

No comments:
Post a Comment